Quick Navigation
Techniques
The default method of working into a ch is usually into the back/top loop only. Perhaps you've also heard about working into the back bump/back ridge. But have you tried working into the bottom loop? It makes a lovely straight edge. I personally use this technique when I need a borderless and clean edge on the other side of the foundation chain ;)
https://www.interweave.com/article/crochet/3-ways-beginning-chain/
Instead of making the entire swatch and then measuring it, I recommend that you make the first few rows, then check the width before continuing. That way, if you find that the width of your incomplete swatch significantly different differs from the gauge measurements, you can switch your yarn/hook and restart on the swatch without wasting too much time!
So you're working on a graded pattern with sizes. Maybe you're in between sizes or your size is just outside of the range of sizes provided.
Fret not! If your pattern comes with a gauge (it should), all you have to do is figure out how much smaller/bigger your desired size is compared to the closest size available in the pattern.
Here's 1 scenario: Let's say your bust measurement is 30" but the smallest size on the pattern is for 32"
30/32 * 100 = approx 94%
Take the gauge swatch measurements (eg. 4" x 4") and multiply that by 94%
Your adjusted gauge swatch= approx 3.75" x 3.75"
You can now follow the pattern for the selected size based on your adjusted gauge swatch. No changes to stitch or row counts, just a simple adjustment to your gauge! Your completed piece should fit your 30" bust much better than the original size provided by the pattern.
The same applies if you need a larger than provided size. Let's say your bust is 55" but the largest size available is graded for a 50" bust.
55/45*100 = approx 122%
Take the gauge swatch measurements (eg. 4" x 4") and multiply that by 122%
Your adjusted gauge swatch= approx 4.9" x 4.9"
You can now follow the pattern for the largest size based on your adjusted gauge!
Note: This method works best when the size you wish to make is not too different from an existing size provided in the pattern.
---
Please use this tip with good judgement, do not do this if you're helping a designer test their pattern! If you're testing a pattern that does not have your size, you should always check with the designer first and/or complete the test with the closest available size and then share feedback about making the pattern sizing more inclusive.
I really love this article at https://easycrochet.com/learn-how-to-change-colors-in-crochet/
Its got a clear and concise photo tutorial as well as a video tutorial!
Closing your round with an invisible join trumps a sl st join any day!
Here's a tip that I love to use when I want to adapt a yarn that I have that's too thin for the pattern I'm working with.
I have a favorite multicolor yarn that only comes in lace weight. However, most crochet patterns call for Sport or DK weight yarn.
To use a fingering weight yarn in a pattern calling for Sport yarn, I do a double pull. And for a DK pattern, I do a triple pull. That means I have either 2 strands (double) or 3 strands (triple) of the same yarn on my hook while I'm crocheting the pattern!
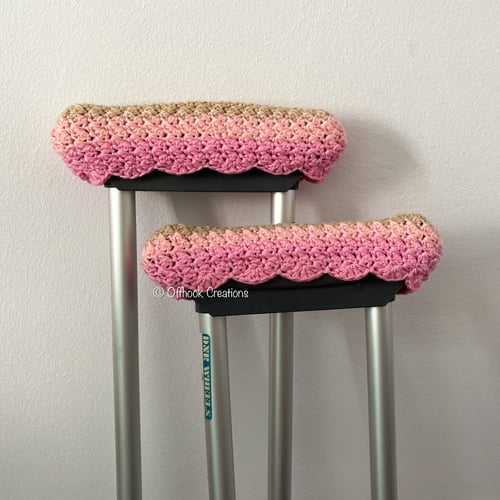
I used a double pull of fingering weight yarn in my free Crutches Cover pattern which calls for DK yarn
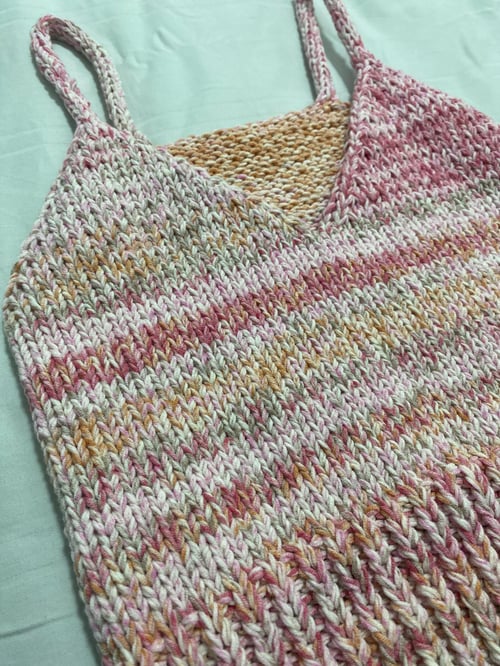
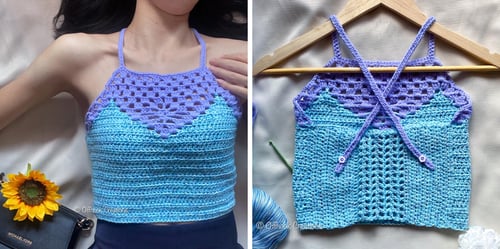
The same applies for other yarn weights too! Here's a bralette I knitted with a triple pull of Sport yarn to mimic Aran weight yarn.
If you're not sure what the resulting yarn weight of your double/triple pulled yarn is, I recommend referring to a WPI (wraps per inch) chart like this one - https://blog.nobleknits.com/wraps-per-inch-chart
Here's another nifty trick to create new colorways out of your existing yarn without having to buy new yarn!
You'll want to mix and match yarn such that the resulting yarn weight matches what your pattern/design calls for.
Here are 2 examples where I mixed a solid yarn with a multi-colored yarn.
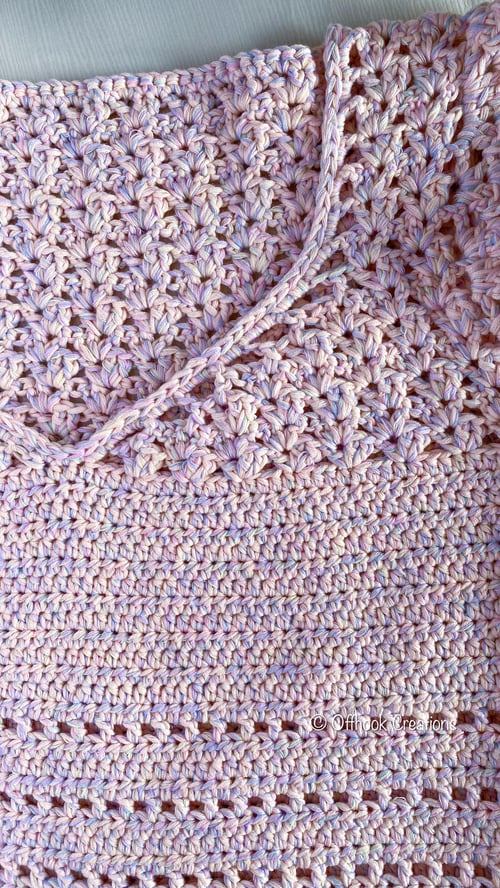
Orlaya Lace Top - pattern tested for @mydancinghook
Asteria Top - pattern tested for @mamakasscrochet
The blue body of the top is where I mixed the solid and multi-colored yarns :)
Time Savers
List down yarn that you often use along with their physical weight, yarn weight (eg. Fingering, DK, Aran), meterage/yardage per skein, fibres etc so you can quickly match yarn to project. I also like to do a quick WPI test for each new yarn I work with as the listed yarn weight might vary across brands.
Here's how my table of yarn looks like!
|
Yarn Brand
|
Cost / 50g
|
Weight (WPI)
|
Yard / m
|
|
Golden Sun cotton
|
|
Fingering (22)
DK when doubled (11)
|
225yds / 206m
|
|
Lace / Variegated 250g
|
|
Fingering (15)
Heavy Sport when doubled
DK when tripled
|
1137yds / 1040m
|
|
Pokkomi
|
|
DK
|
207yds/ 190m
|
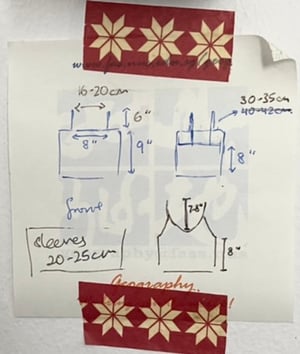
If you often make crochet clothing for yourself, keep a sticky note of these measurements handy so you always your numbers ready!
Tops: Width between straps, Length of top from bust to hem, Strap length, Sleeve length etc.
This is the sketch of measurements I keep near my working desk. I've been using this for close to a year and the post-it has started losing its stickiness 😅 but it works!